
This blog is the second blog of this Federated Identity Management for VMC on AWS series. Please complete the vIDM connector installation and setup as per my first blog of this series before moving forward. (https://davidwzhang.com/2019/07/31/setting-up-federated-identity-management-for-vmc-on-aws-install-and-setup-vidm-connector/)
VMware Cloud on AWS Federated Identity management supports different kinds of authentication methods. This blog will demo the basic method: authentication with the customer corporate Active Directory (AD).
When VMC on AWS customers use AD for authentication, outbound-only connection mode is highly recommended. This mode does not require any inbound firewall port to be opened: only outbound connectivity from vIDM Connector to VMware SaaS vIDM tenant on port 443 is required. All user and group sync from your enterprise directory and user authentication are handled by the vIDM connector.
To enable outbound-only mode, go to update the settings of the Build-in Identity Provider. In the user section of Built-in Identity Provider settings, select the newly created directory “lab.local” and add the newly created connector “vidmcon01.lab.local”.

After the connetor is added successfully, select Password (cloud deployment) in the “Connector Authentication Methods” and click Save.

Now it is time to update the access policy to use corporate Active Directory to authenticate VMC users.
Go to Identity & Access Management.

Click “Edit DEFAULT POLICY” then the “Edit Policy” window pop up. Click Next.

Click “ADD POLICY RULE”.

Then the “Add Policy Rule” window will pop up. At this stage, just leave the first two configuration items as default: “ALL RANGES” and “ALL Device Types”. In the “and user belong to group(s)” config item, search and add all 3 synced groups (sddc-admins, sddc-operators and sddc-readonly) to allow the users in these 3 groups to log in.

Add Password(cloud deployment) as authentication method.

Use Password(Local Directory) as fallback authentication method and click Save.

There are 3 rules defined in the default access policy. Drag the newly defined rule to the top of the rules table, which will make sure that the new rule is evaluated first when a user tries to log in.

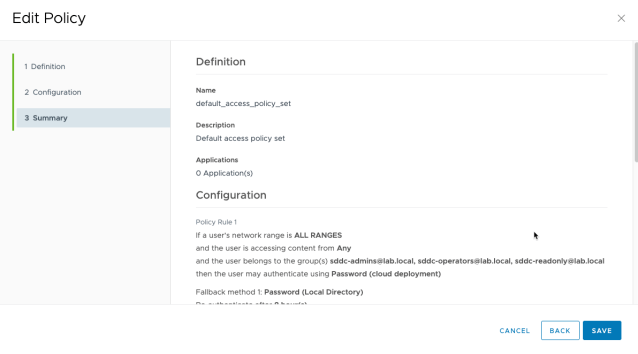
Now the rules table shows as below. Click Next.

Click Save to keep the changes of the default access policy.
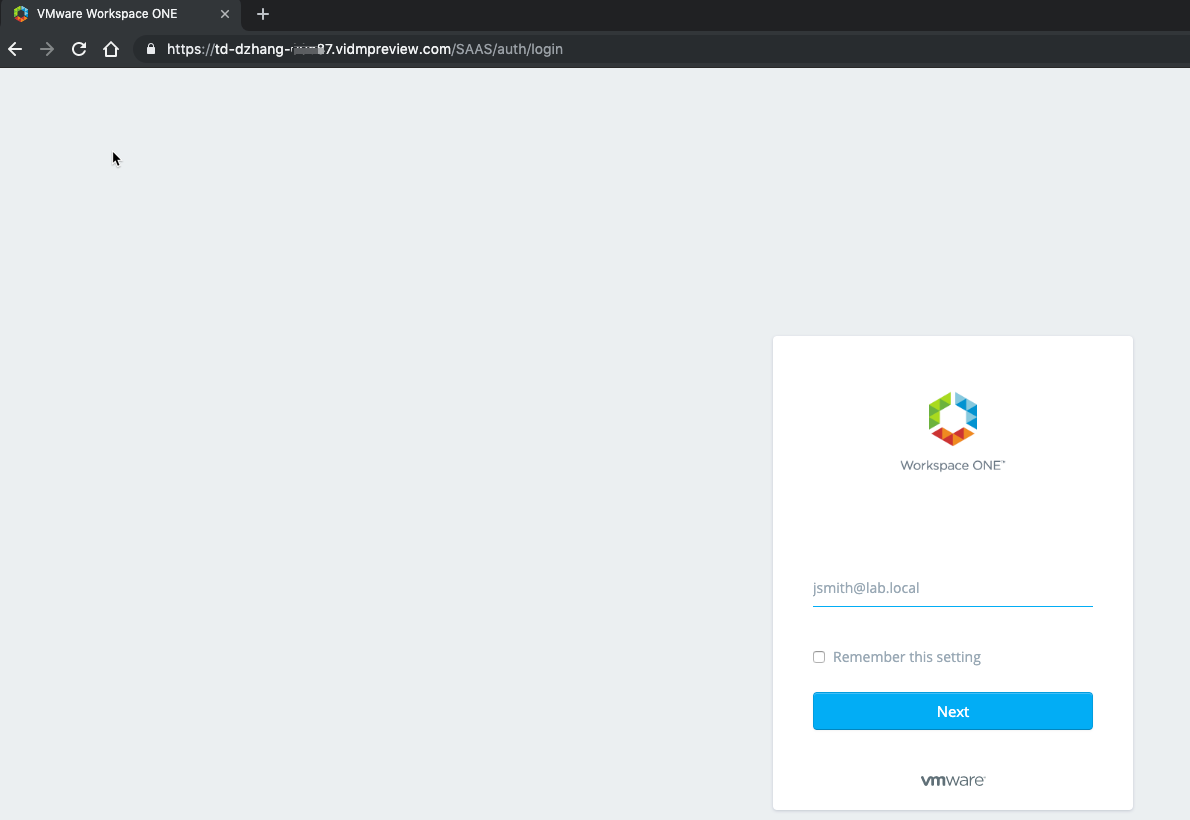
You are now good to test your authentication set up. Open a new Incognito window in your Chrome browser and connect to the vIDM URL. Type in the username (jsmith@lab.local) and click Next.
Type in the Active Directory password for user jsmith@lab.local and click “Sign in”.

Then you can see that jsmith@lab.local has successfully logged in the vIDM! ![]()

Thank you very much for reading!

Pingback: Setting Up Federated Identity Management for VMC on AWS – Install and Setup vIDM Connector – InsidePacket
Pingback: Setting Up Federated Identity Management for VMC on AWS – Authentication with Okta IdP – InsidePacket