
The Federated Identity feature of VMware Cloud on AWS can be integrated with all 3rd party IdPs who support SAML version 2.0. In this integration model, the customer dedicated vIDM tenant will work as SAML Service Provider. If the 3rd party IdP is set up to perform multi-factor authentication (MFA), the customer will be prompted MFA for access to VMware Cloud services. In this blog, the integration with one of the most popular IdP Okta will be demoed.
Disclaimer:
- The Okta IdP settings in this blog are to demo the integration for vIDM, which may not be the best practise for your environment or meet your business and security requirements.
- VMware Cloud on AWS has begun to support self-service enterprise federation setup since Oct 2021. The set-up UI is different from what the blog shows but the configuration is essentially the same. Please update the settings accordingly based on the latest UI.
Note: If you would like to use the vIDM connector for users/groups sync, please complete the vIDM connector installation and the vIDM tenant basic setup as per my first blog of this series (https://davidwzhang.com/2019/07/31/setting-up-federated-identity-management-for-vmc-on-aws-install-and-setup-vidm-connector/) before continuing.
To add the same users and user groups in Okta IdP as the configured vIDM tenant, we need to integrate Okta with corporate Active Directory (AD). The integration is via Okta’s lightweight agent.
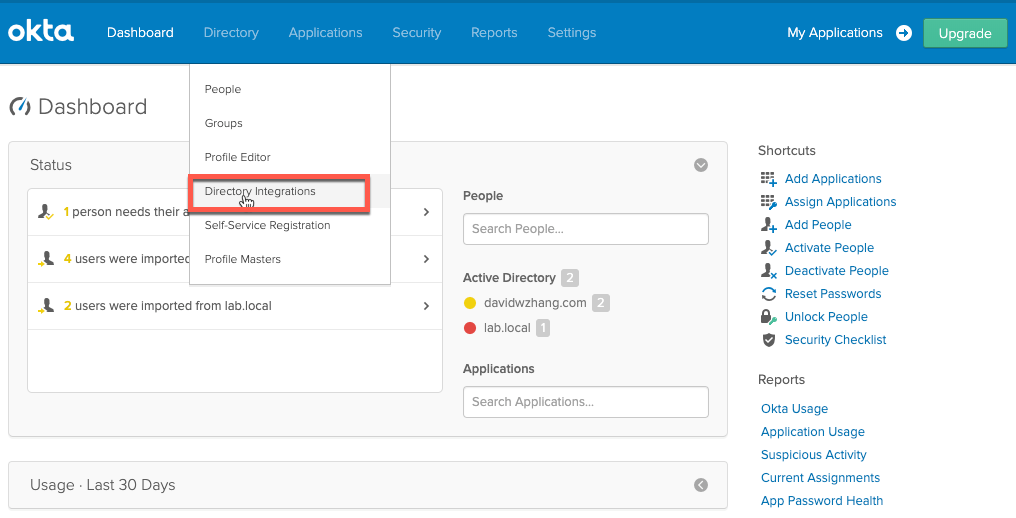
Click the “Directory Integration” in Okta UI.
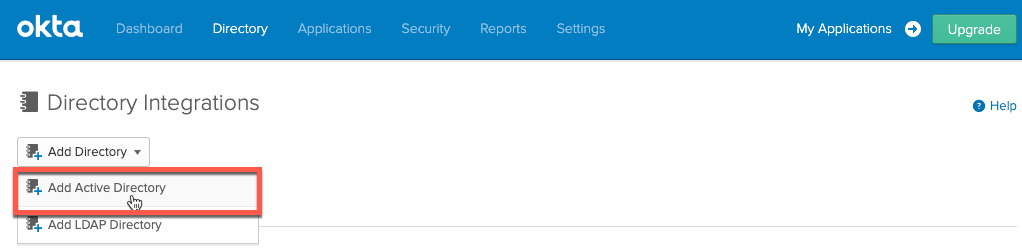
Click “Add Active Directory”.
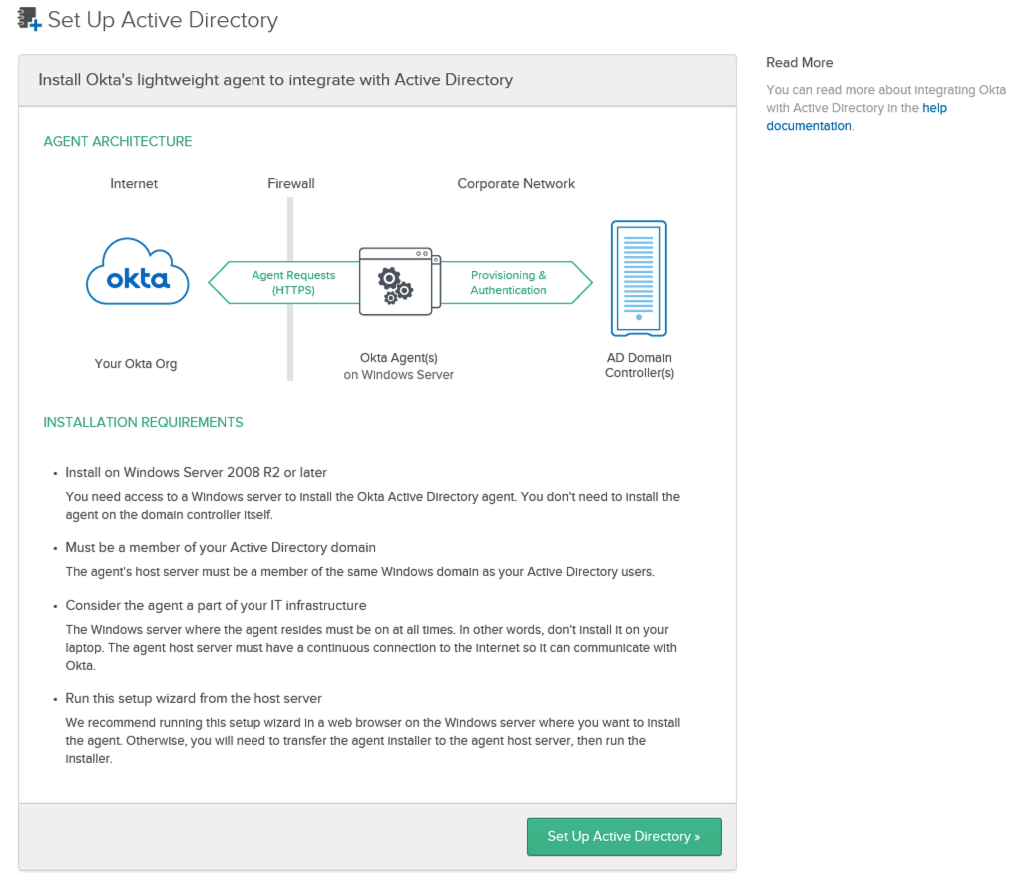
The Active Directory integration setup wizard will start and click “Set Up Active Directory”.
Download the agent as required in the below window.
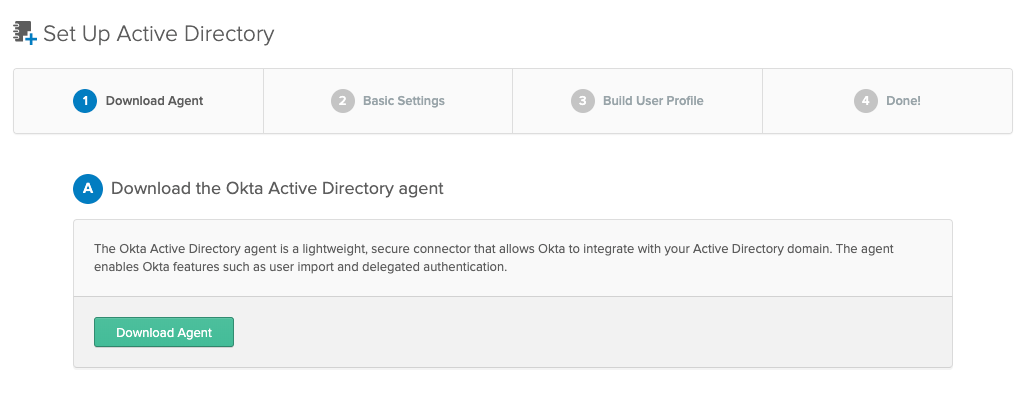
This agent can be installed on a Windows Server 2008 R2 or later. The installation of this Okta agent is quite straightforward. Once the agent installation is completed, you need to perform the setup of this AD integration. In the basic setting window, select the Organizational Units (OUs) that you’d like to sync users or groups from and make sure that “Okta username format” is set up to use User Principle Name (UPN).
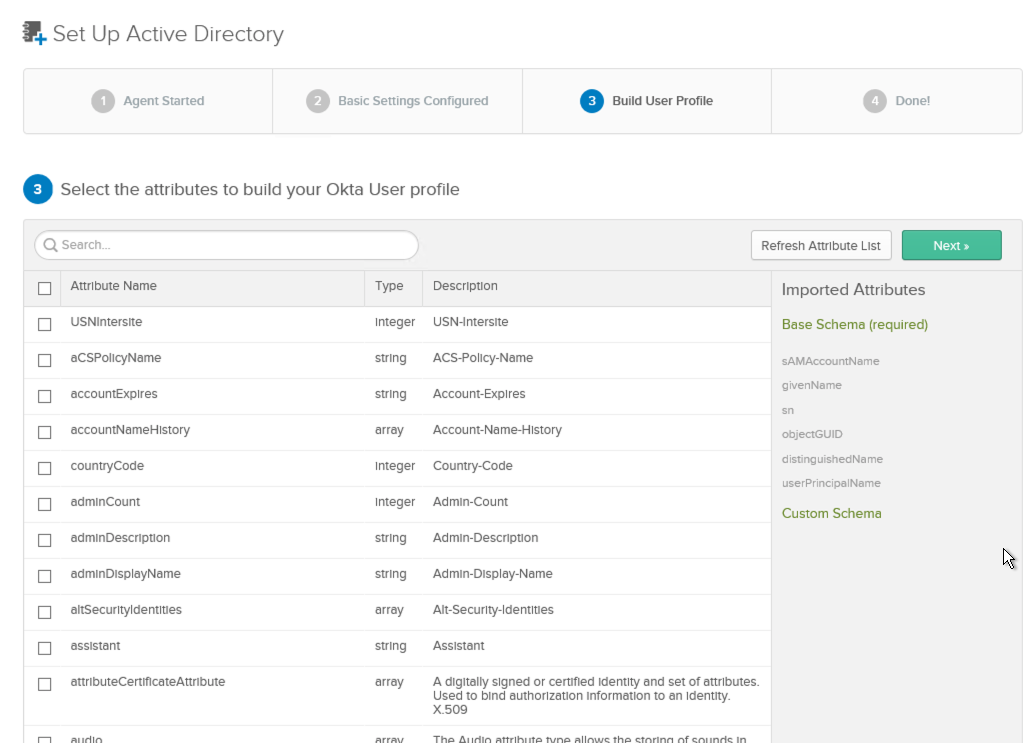
In the “Build User Profile” window, select any custom schema which needs to be included in the Okta user profile and click Next.
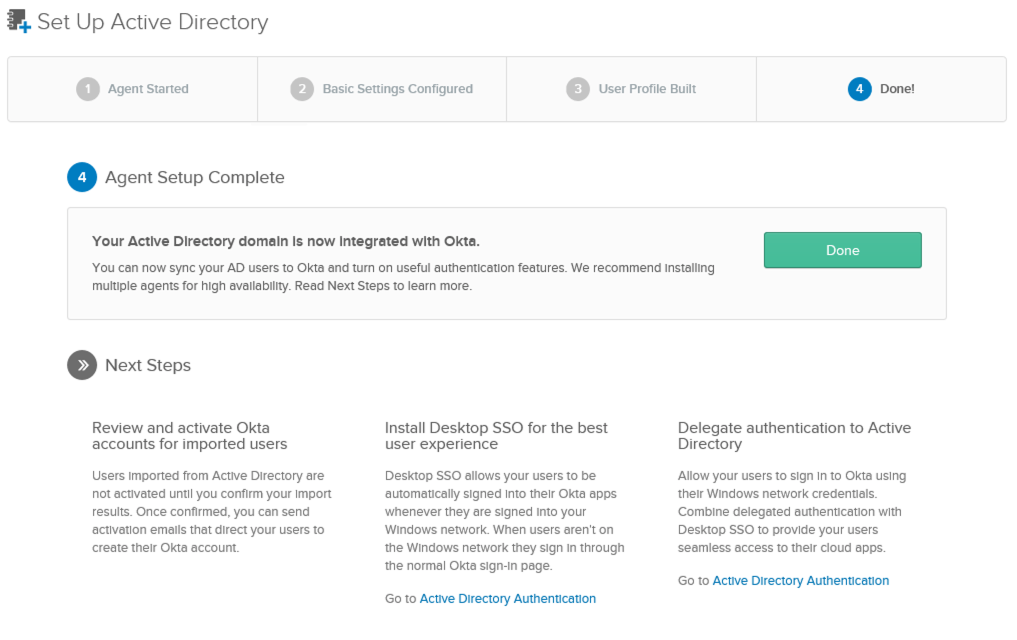
Click Done to finish the integration setup.
The Okta directory setting window will pop up.
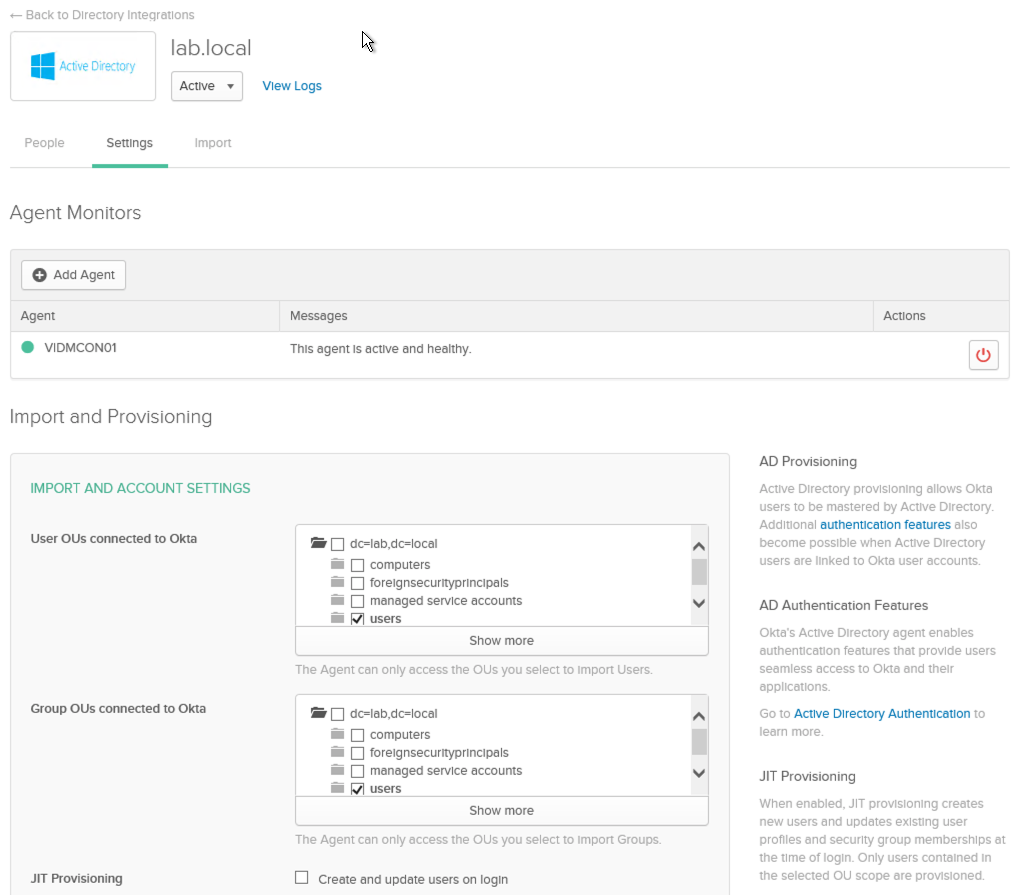
Enable the Just-In-Time provisioning and set the Schedule Import to perform user import every hour. Review and save the setting.

Now go to the Import tab and click “Import Now” to import the users from corporate AD.
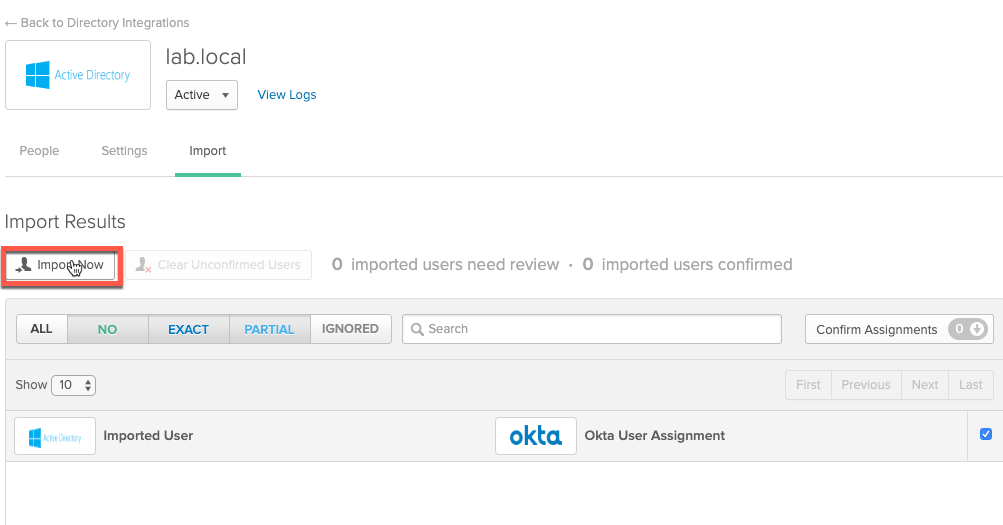
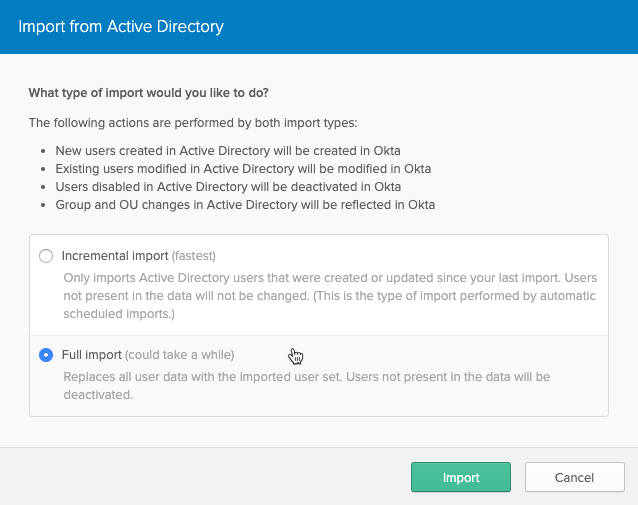
As it is the first time to import user/users from customer AD, select “Full Import” and click Import.
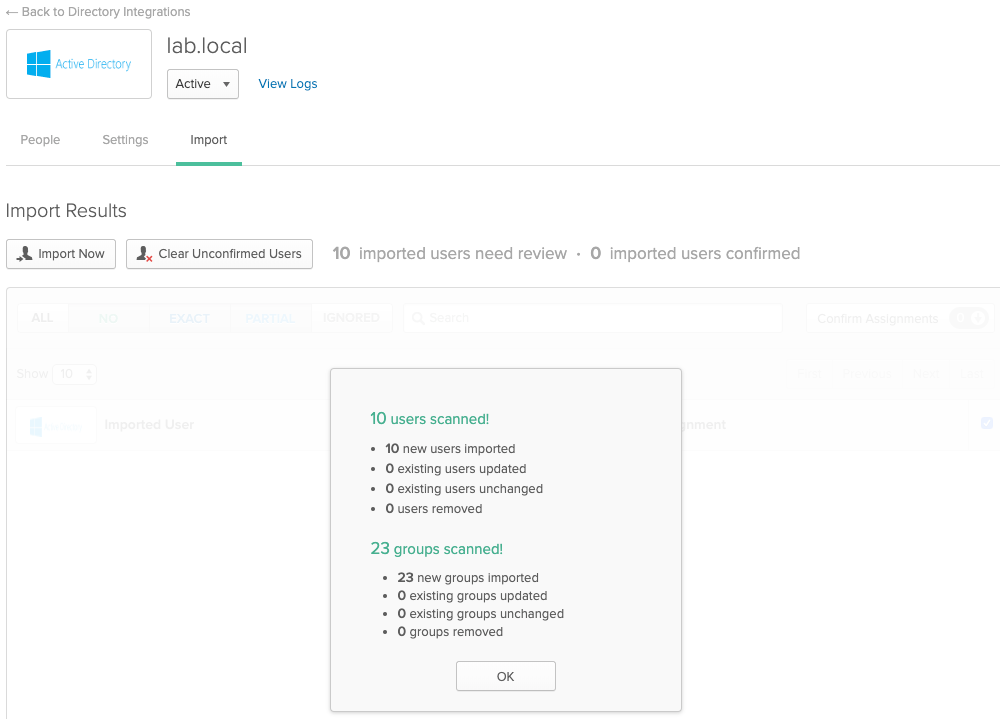
When the scan is finished, Okta will report the result. Click OK.
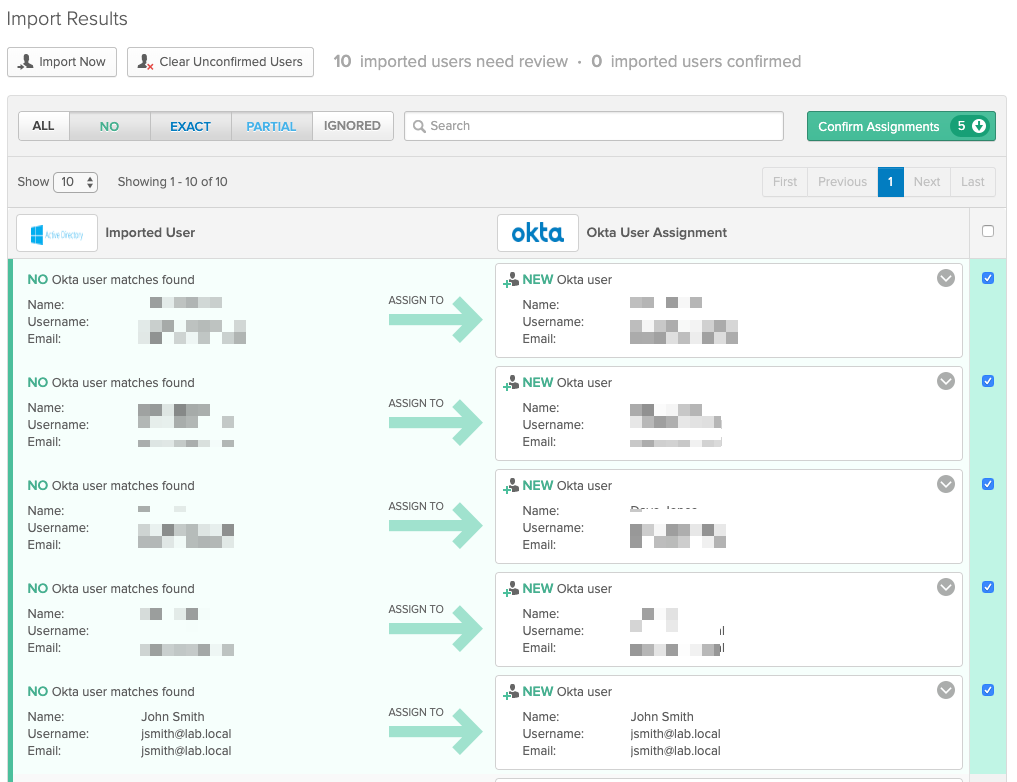
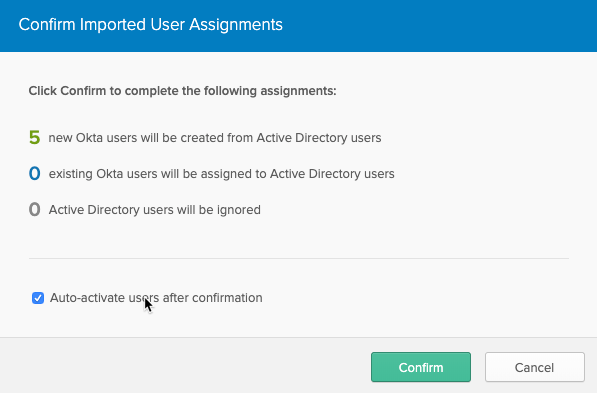
Select the user/users to be imported and confirm the user assignment. Note: the user jsmith@lab.local is imported here, who will be used for the final integration testing.
Now it is time to set up the SAML IdP in Okta.
Go to Okta Classic UI application tab and click “Add Application”

Click “Create New App”;

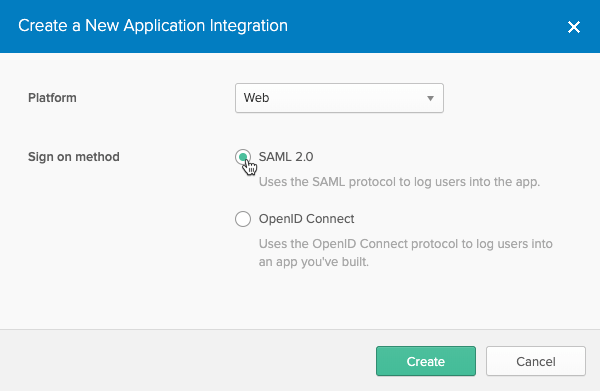
Select Web as the Platform and “SAML 2.0” for Sign on method and click Create;
Type in App name, “csp-vidm” is used as an example as the app name and click Next;

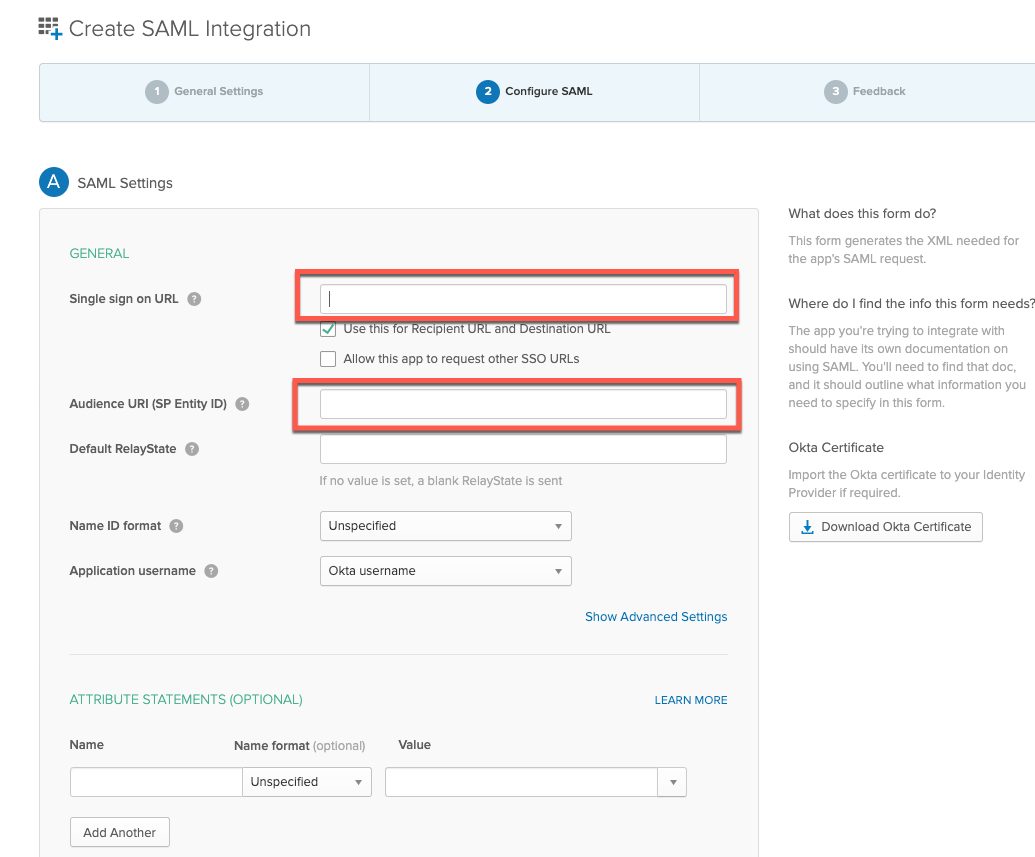
There are two configuration items in the popped up “Create SAML Integration” window which is mandatory. These information can be copied from Identity Provider setting within vIDM tenant.
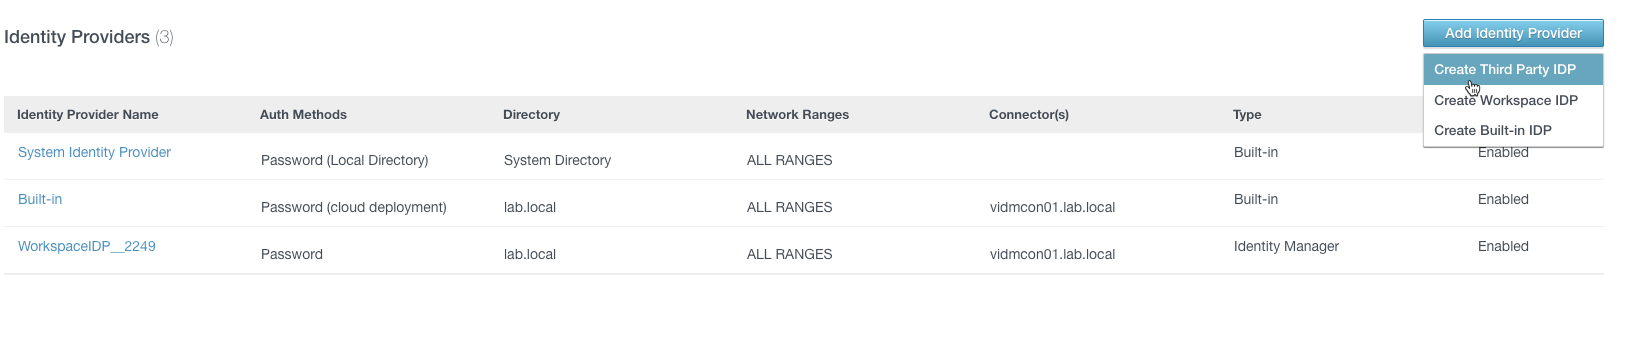
Go to vIDM tenant administrator console and click “Add Identity Provider” and select “Create Third Party IDP” within the “Identity & Access Management” tab.
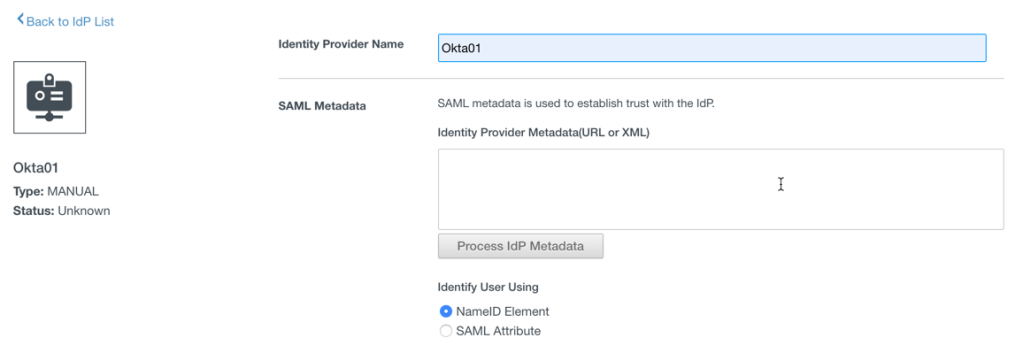
Type in the “Identity Provider Name”, here the example name is “Okta01”
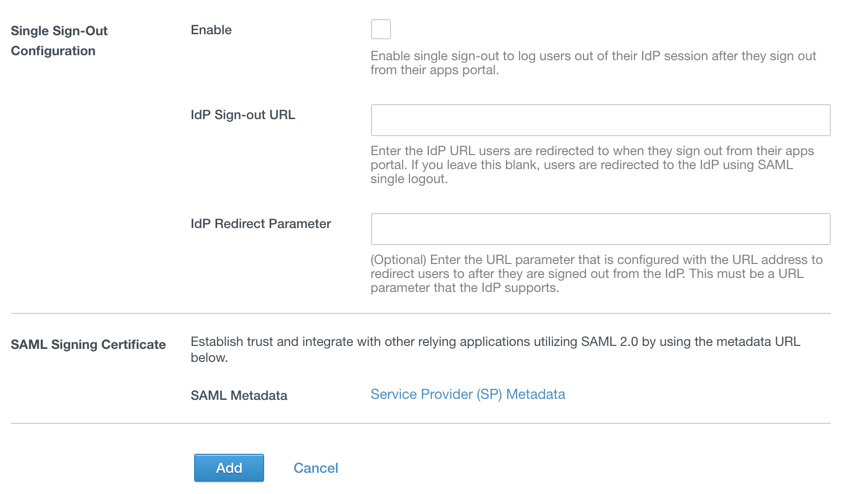
Go to the bottom of this IdP creation window and click “Service Provider (SP) Metadata”.
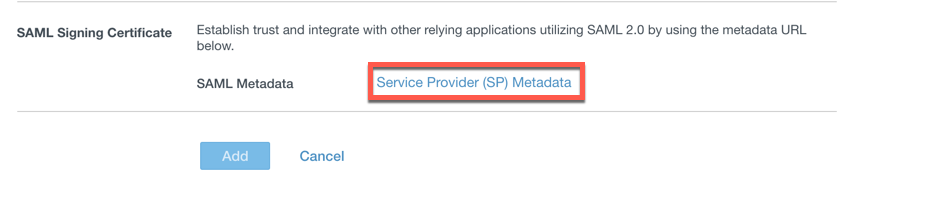
A new window will pop up as the below:
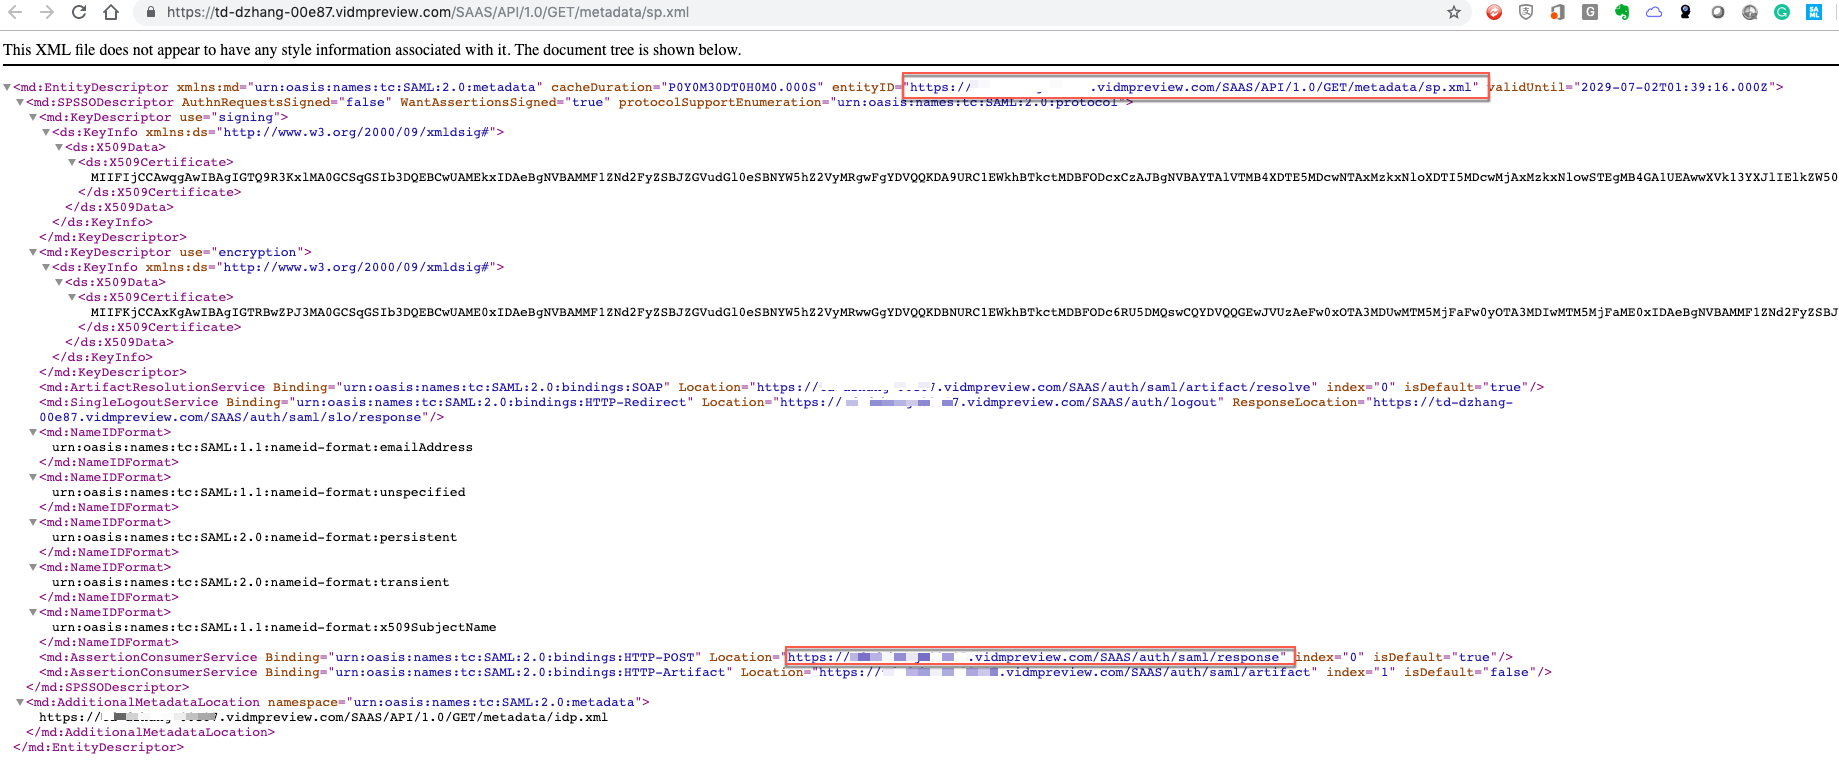
The entity ID and HTTP-POST location are required information for Okta IdP SAML setting. Copy the entity ID URL link into the “Audience URI (SP Entity ID) and HTTP-POST location into “Single sign on URL” in the Okta “Create SAML Integration” window.
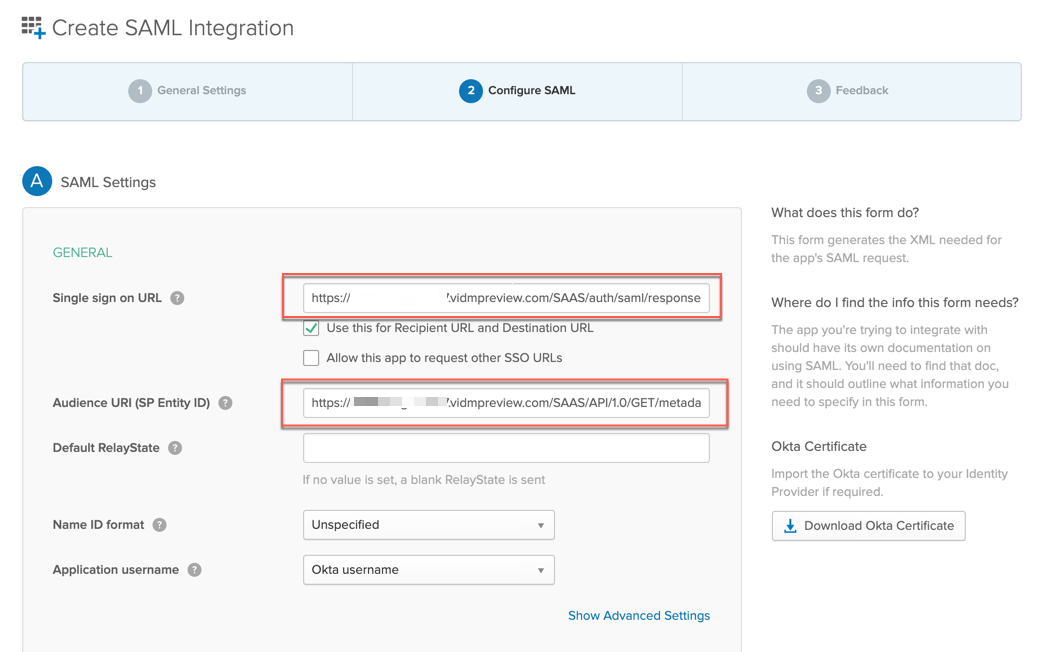
Leave all other configuration items as the default and click Next;
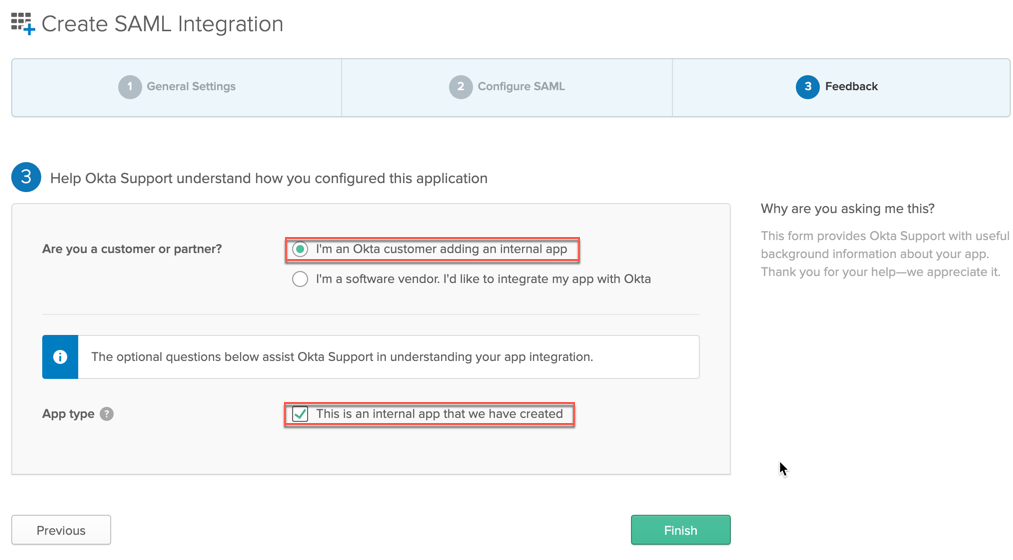
In the Feedback window, suggest the newly created app is an internal app and click Finish.
A “Sign On settings” window will pop up as below, click “Identity Provider metadata” link.
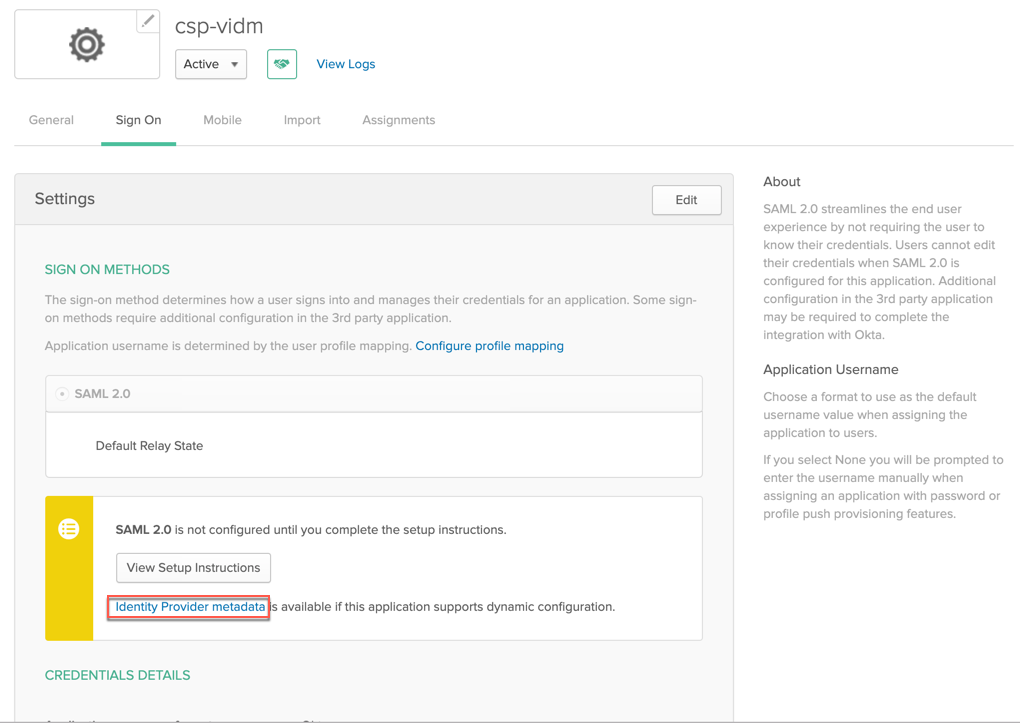
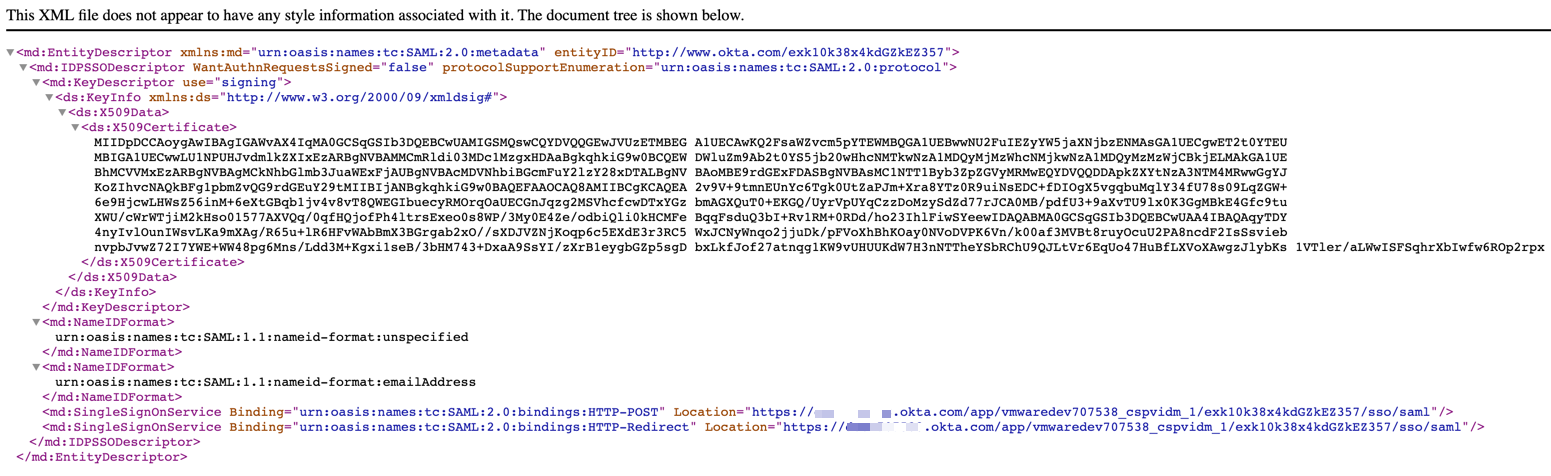
The XML file format of Identity Provider metadata shows up. Select all content of this XML file and copy.
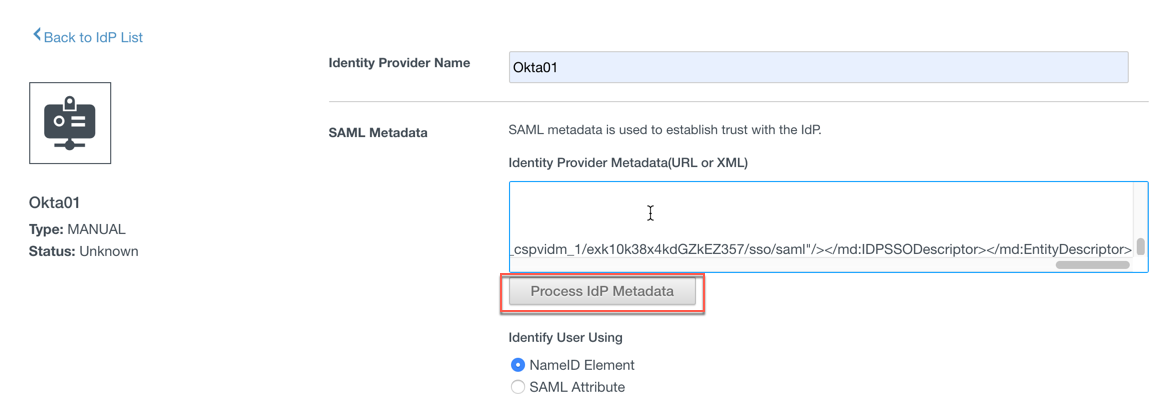
Paste the Okta IdP metadata into SAML Metadata and click “Process IdP Metadata” in the vIDM 3rd party identity provider creation window.
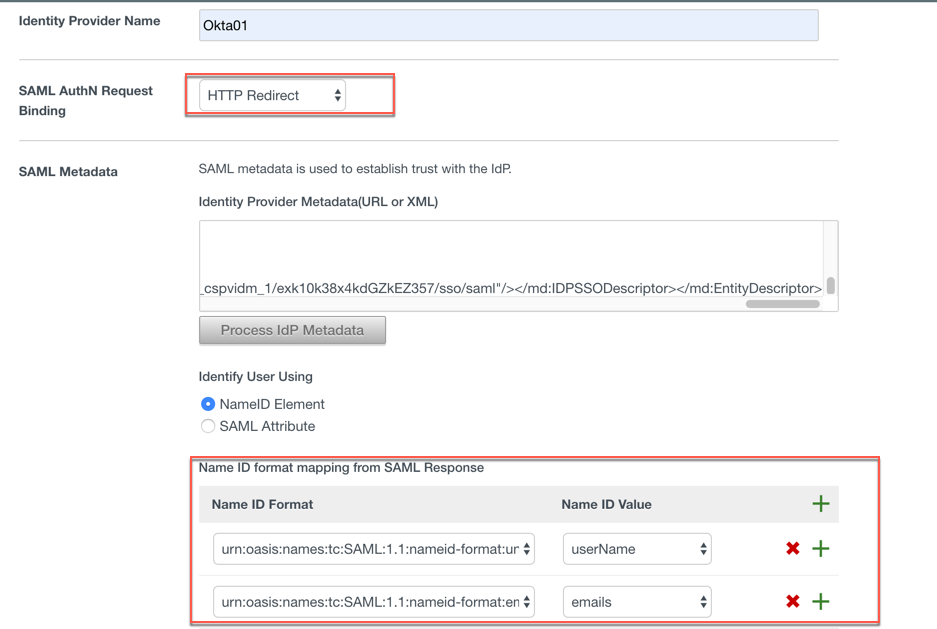
The “SAML AuthN Request Binding” and “Name ID format mapping from SAML Response” will be updated as below:
Select “lab.local” directory as users who can authenticate with this new 3rd party IdP and leave the Network as default “All RANGES”. Then create a new authentication method called “Okta Auth” with SAML Context “urn:oasis:names:tc:SAML:2.0:ac:classes:PasswordProtected“. Please note that the name of this newly created authentication method has to be different from any existing authentication method.

Then leave all other configuration items’ box unchecked and click Add.
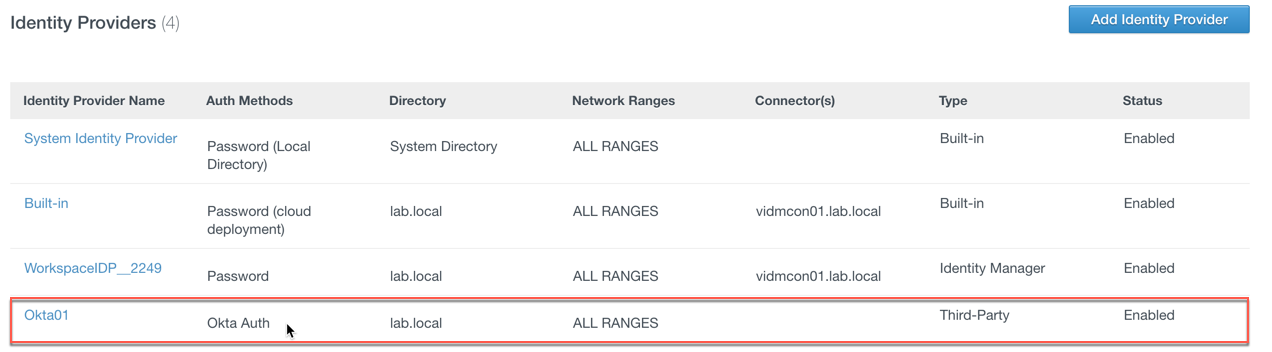
The 3rd party IdP has been successfully added now.
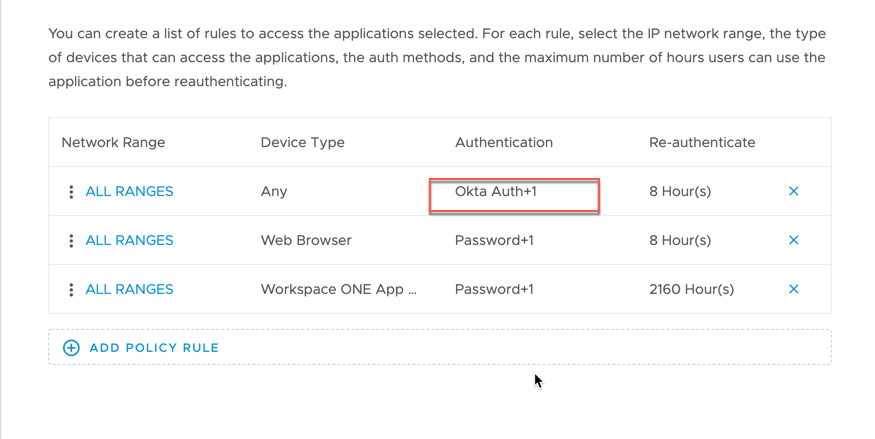
The last step of vIDM set up for this Okta integration is updating the default access policy to use the newly defined authentication method “Okta Auth”. Please follow up the steps in my previous blog to perform the required update. The updated default access policy should be similar as below.
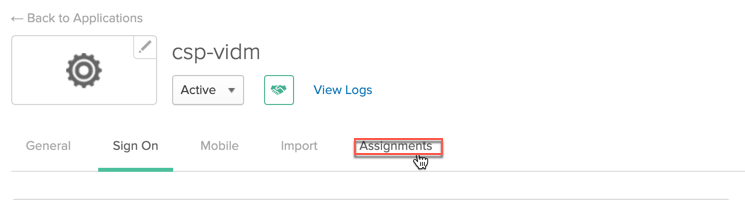
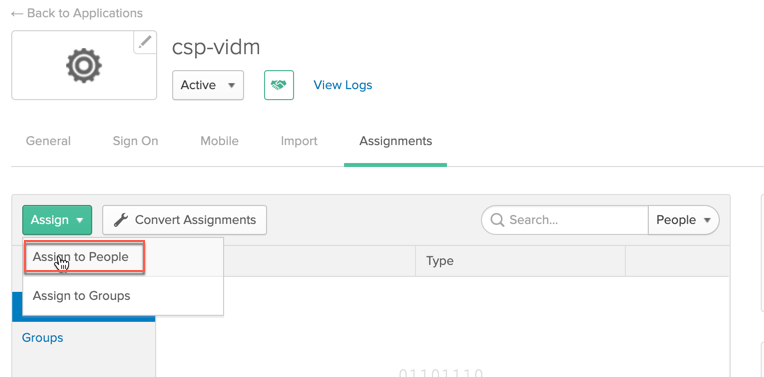
Before going to test the setup, go to Okta UI to assign user/s to the newly defined SAML 2.0 web application “csp-vidm”. Click Assignment.
Click Assign and select “Assign to People”.
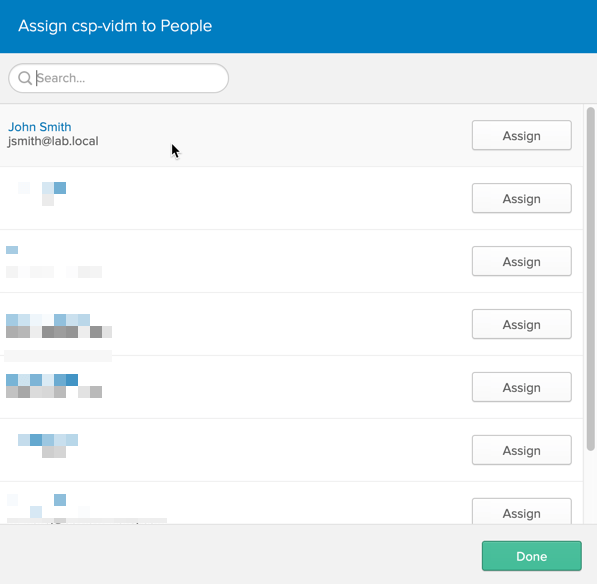
In the “Assign csp-vidm to People” window, assign user John Smith (jsmith@lab.local), which means that the user John Smith is allowed by this SAML 2.0 application.
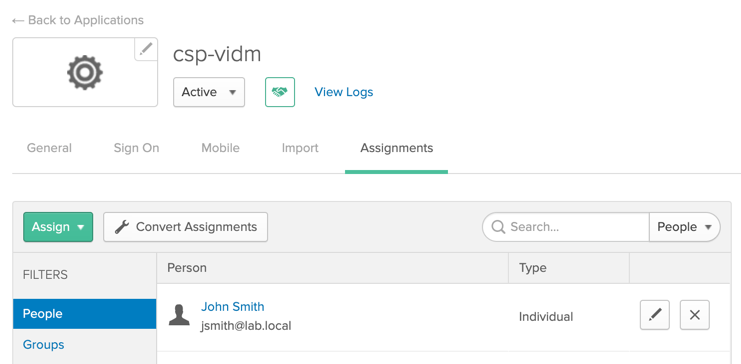
After the assignment is completed, user John Smith is under the assignment of this SAML 2.0 application “csp-vidm”.
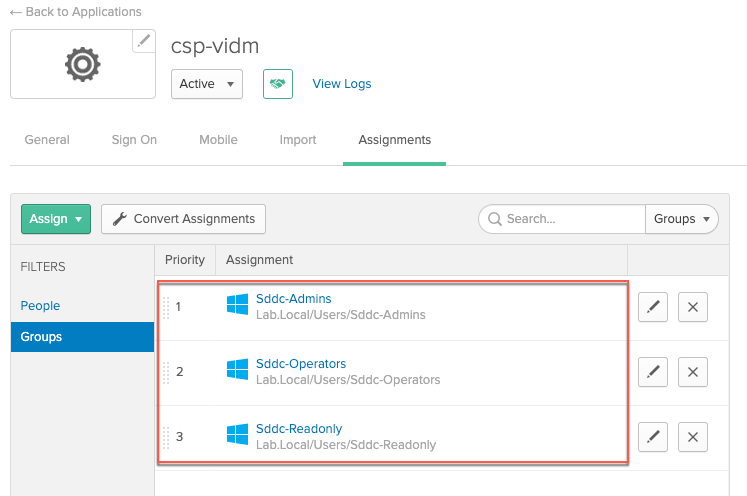
Instead of assigning individual users, AD group/groups can be assigned to the SAML application as well.
Finally, everything is ready to test the integration.
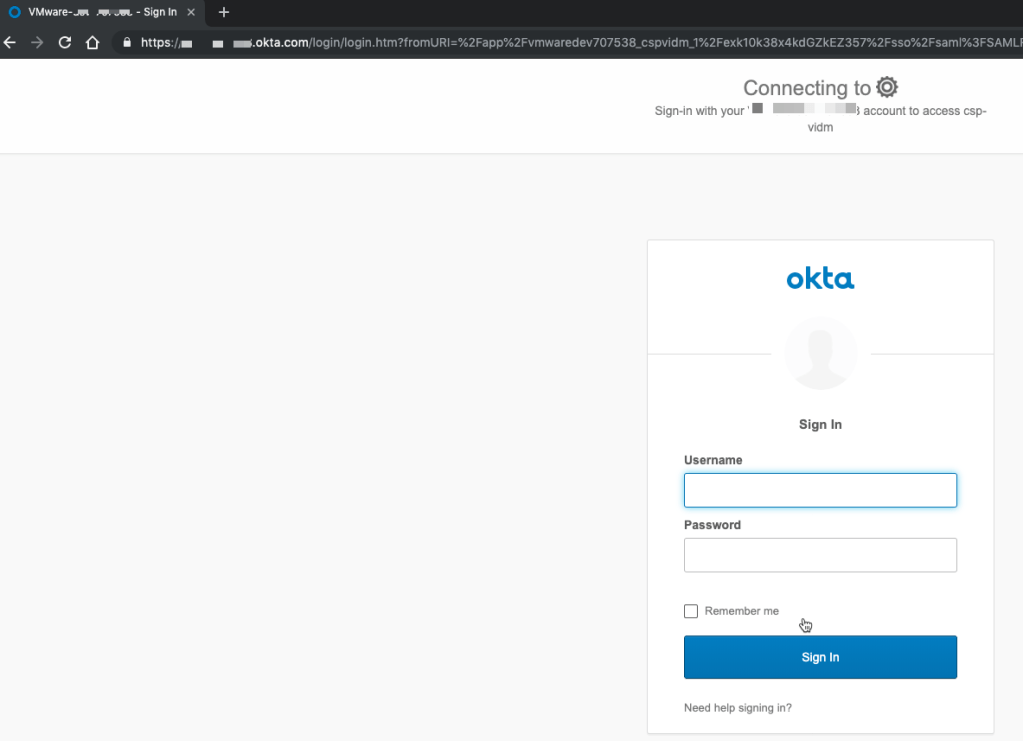
Open a new Incognito window in a Chrome browser and type in the vIDM tenant URL then click Enter.
In the log in window, type user name jsmith@lab.local and click Next.

The authentication session is redirected to Okta.
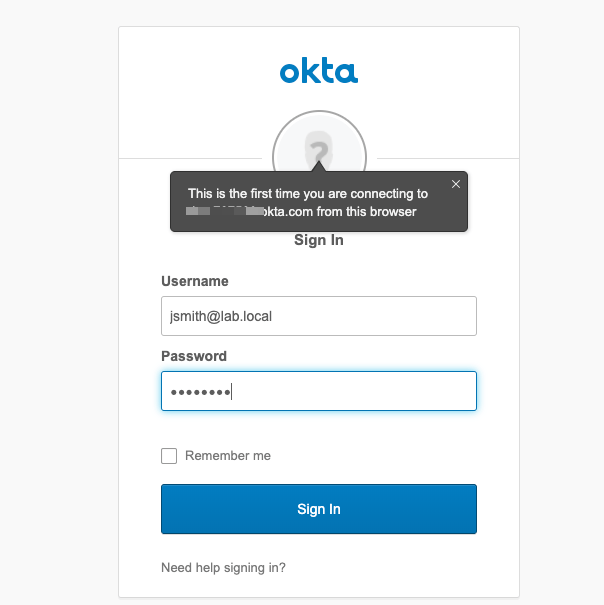
Type in Username & Password and click “Sign In”.
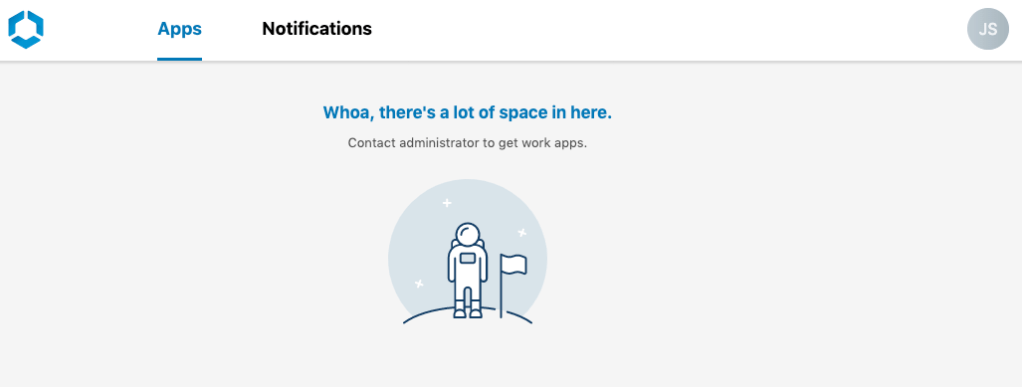
Then user John Smith (jsmith@lab.local) successfully logs in the vIDM tenant.
This is the end of this demo. Thank you very much for reading!

Pingback: Setting Up Federated Identity Management for VMC on AWS – Install and Setup vIDM Connector – InsidePacket
Thhanks for posting this
LikeLike