
The Federated Identity feature of VMware Cloud on AWS can be integrated with Microsoft Active Directory Federation Services (ADFS). In this integration model, the customer dedicated vIDM tenant will work as the SAML Service Provider and the ADFS will work as the IdP.

Disclaimer:
- The ADFS settings in this blog are to demo the integration for vIDM, which may not be the best practise for your environment or meet your business and security requirements.
- VMware Cloud on AWS has begun to support self-service enterprise federation setup since Oct 2021. The set-up UI is different from what the blog shows but the configuration is essentially the same. Please update the settings accordingly based on the latest UI.
Note: If you would like to use the vIDM connector for users/groups sync, please complete the vIDM connector installation and the vIDM tenant basic setup as per my first blog of this series (https://davidwzhang.com/2019/07/31/setting-up-federated-identity-management-for-vmc-on-aws-install-and-setup-vidm-connector/) before continuing.
The AD domain name for this blog is davidwzhang.com.
The ADFS is installed on a Windows 2016 standard server. The DNS name for ADFS service is adfs1.davidwzhang.com.
Step 1: Get the ADFS Metadata Information.
The URL to this ADFS metadata is https://adfs1.davidwzhang.com/FederationMetadata/2007-06/FederationMetadata.xml. Click the URL to download the metadata XML file.
Step 2: Create an Identity Provider in vIDM Tenant
Go to the vIDM tenant administrator console and click “Add Identity Provider” and select “Create Third Party IDP” within the “Identity & Access Management” tab.

Input the parameters as below:
- Identity Provider Name: ADFS01
- SAML AuthN Request Binding: HTTP Redirect
In the SAML Metadata section, copy the content of XML file FederationMetadata.xml to the text box of the Identity Provider Metadata (URL or XML) then click the button “Process IdP Metadata”. The Name ID Format section will have 3 entries popped up.

Now, click the green plus icon to add a new mapping as the below:
urn:oasis:names:tc:SAML:1.1:nameid-format:unspecified – userName.
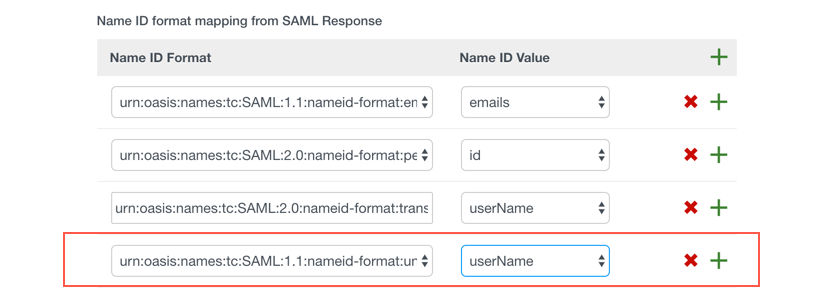
Then from the dropdown of the “Name ID policy in SAML request (Optional)”, select “urn:oasis:names:tc:SAML:1.1:nameid-format:unspecified”

The rest of the settings are as below:
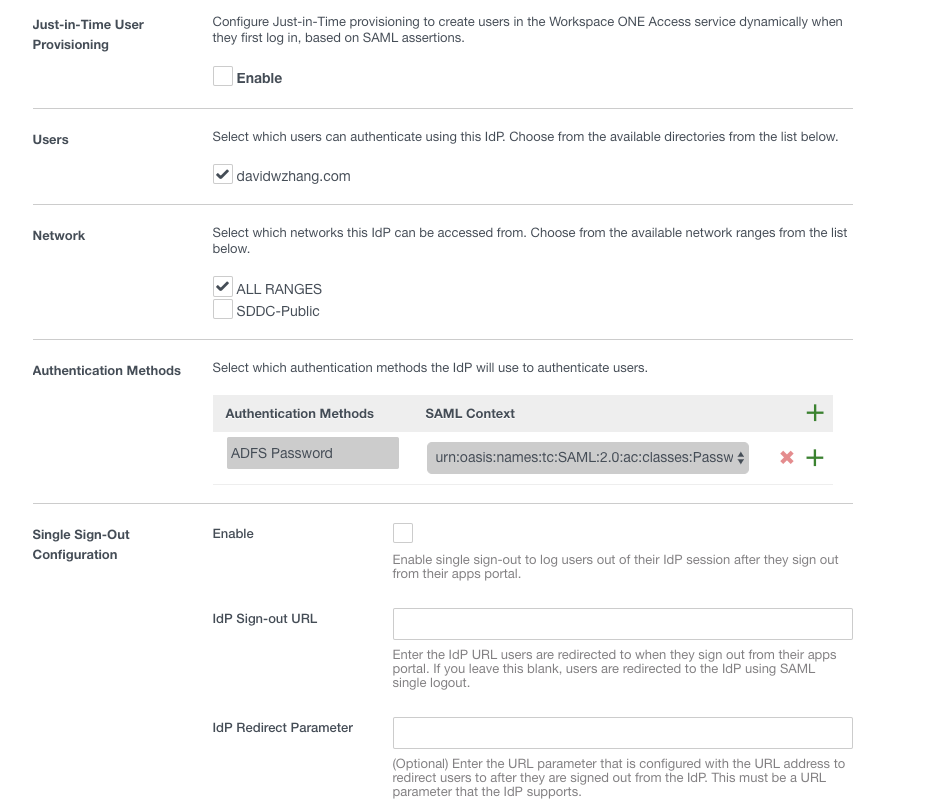
- Just-in-Time User Provisioning: Disabled
- Users: davidwzhang.com
- Network: ALL Ranges
- Authentication Methods
- Authentication Methods: ADFS Password
- SAML Context: urn:oasis:names:tc:SAML:2.0:ac:classes:Password
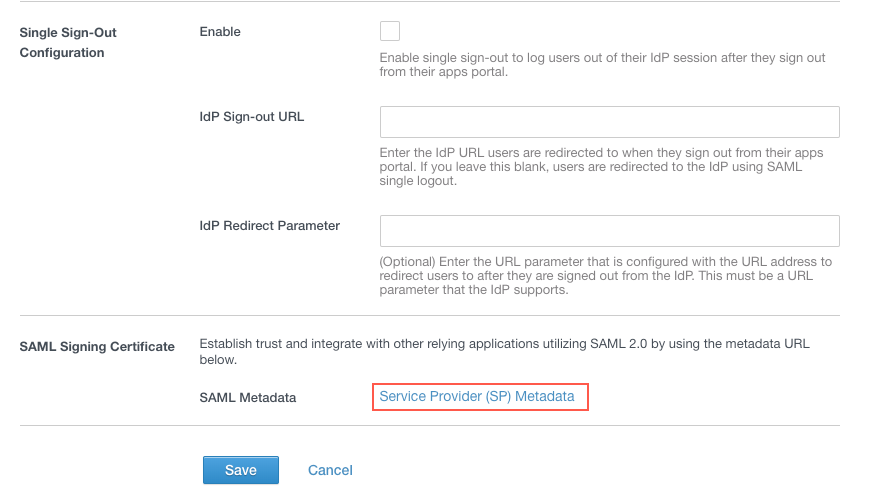
- Single Sign-Out Configuration: Disabled
Then click the hyperlink of “Service Provider (SP) Metadata” to download the Service Provider metadata and upload it to the ADFS server.
Step 3: Update Authentication Policy
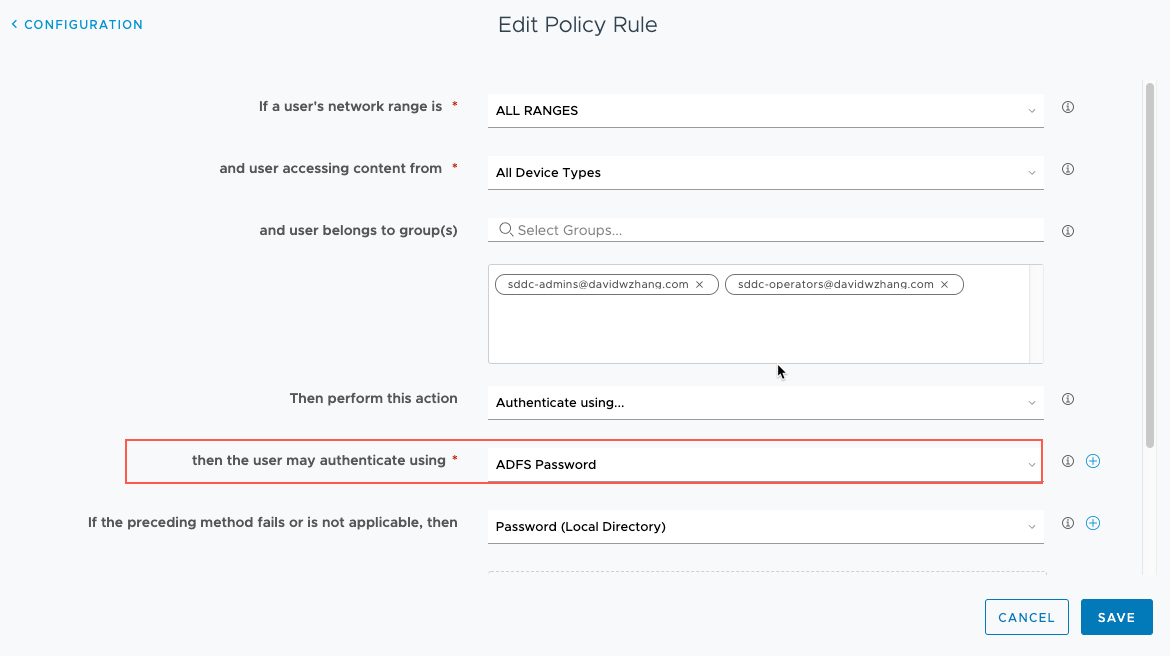
Update the vIDM tenant’s default access policy to include ADFS as the first authentication method.
Step 4: Configure ADFS Relying Party
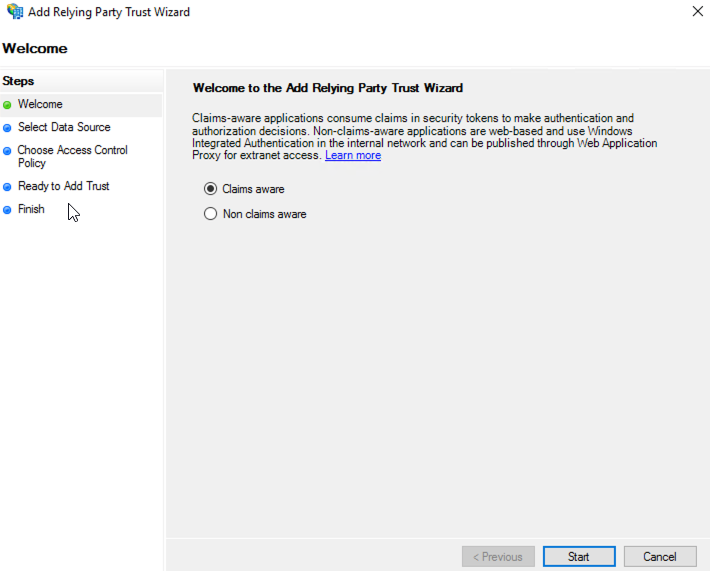
Now it is time to setup the ADFS. First, start the ADFS Management tool from Server Manager and add a Relying Party Trust as the below.

In the welcome screen of “Add Relying Party Trust” wizard, select “Claim aware” and click the Start button.
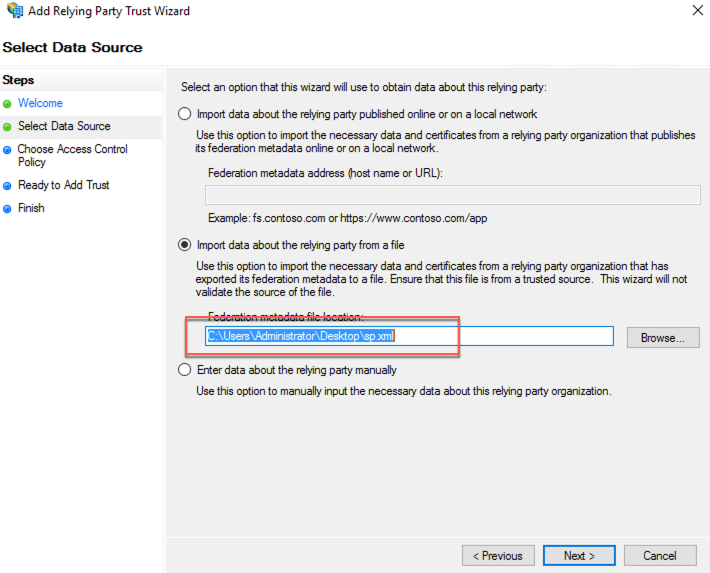
Select the uploaded sp.xml file in step 2 to import data about the relying party and then click the Next button.
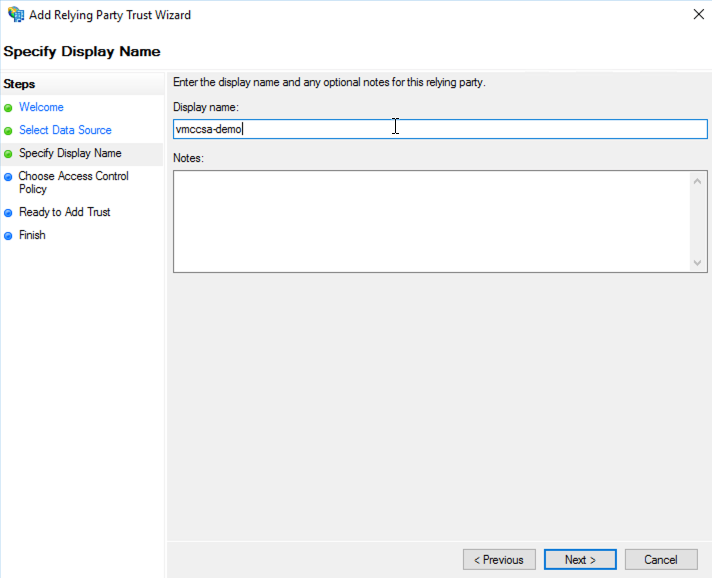
Input “vmccsa-demo” as the relying party display name, then click the Next button.
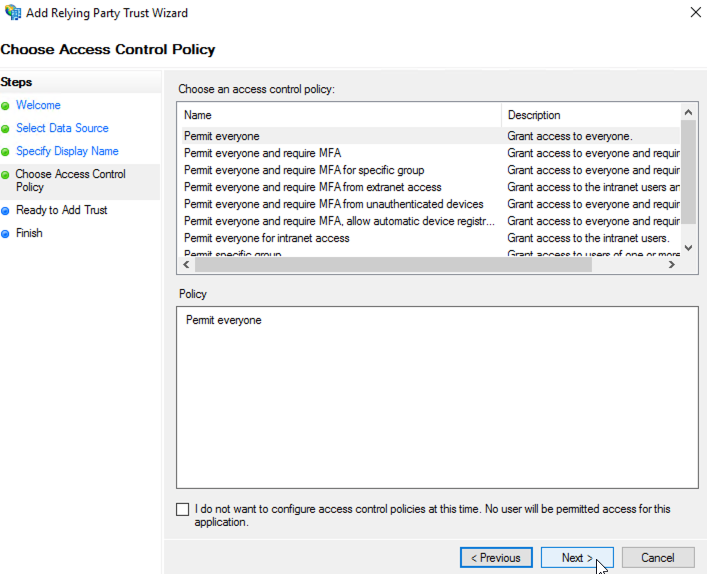
Choose “Permit everyone” as the Access Control Policy and click the Next button. Note: please select different access control policies for your use case.
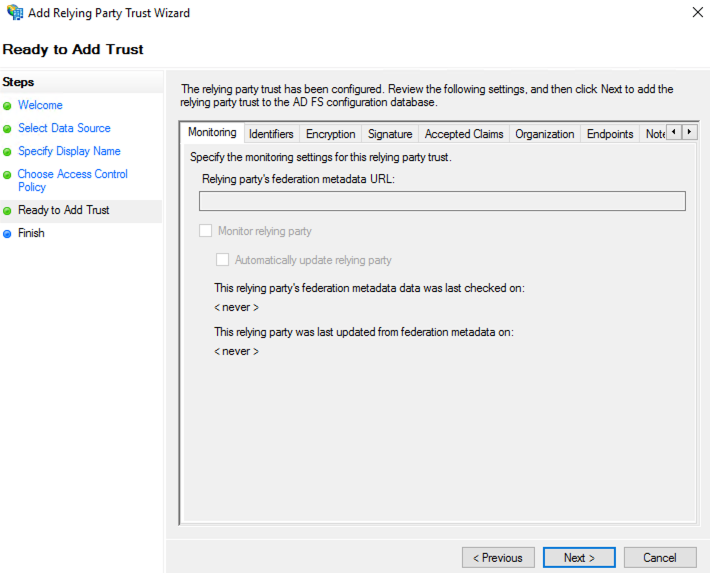
Click the Next button.
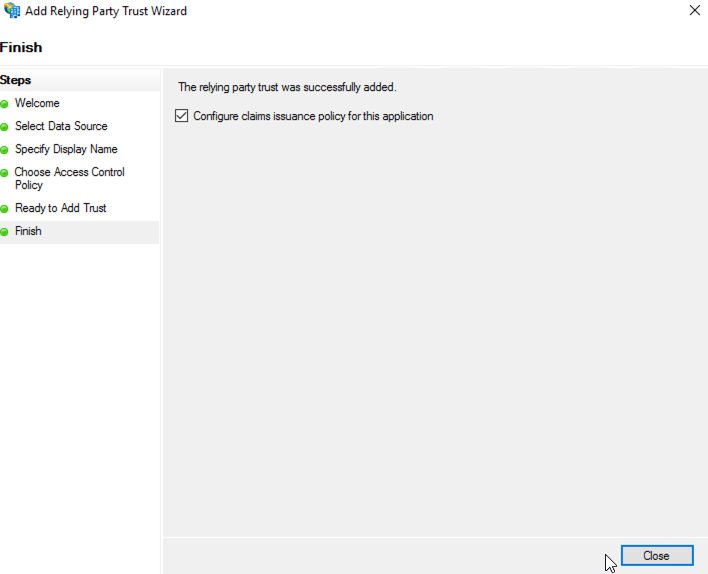
Now, click the Close button to finish the wizard.
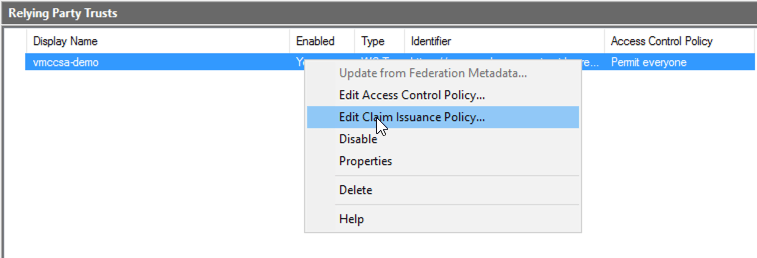
Step 5: Create ADFS Relying Party Claim Rules
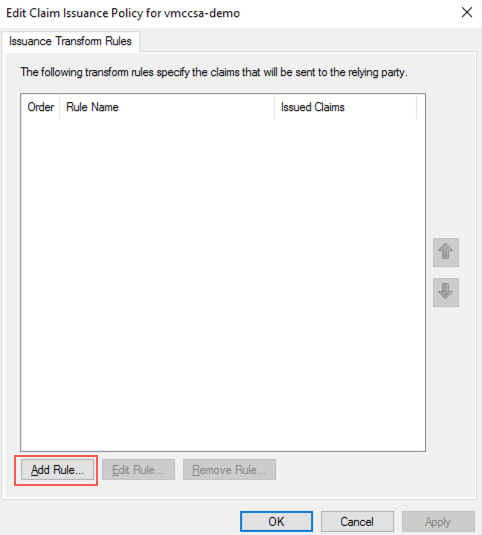
Select the newly created relying party, right click and select “Edit Claim Issue Policy…”.
Click the “Add Rule…” button to add a new Transform rule.
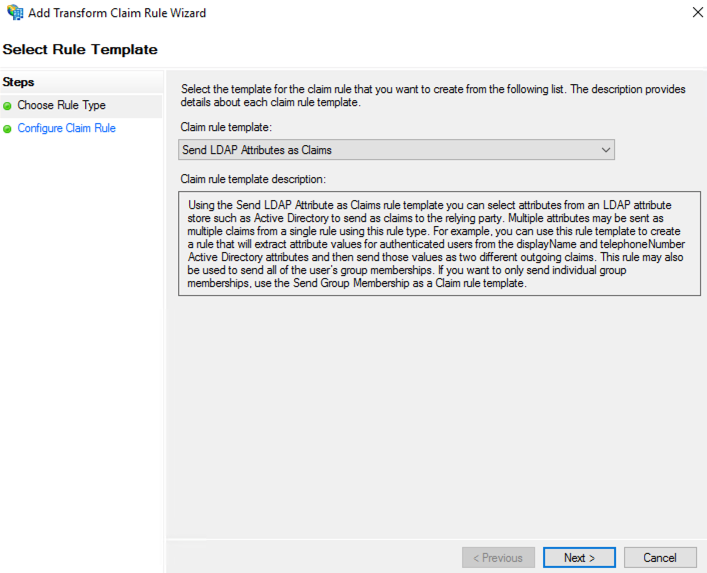
In the “Choose Rule Type” step of the “Add Transform Claim Rule” wizard, select “Select LDAP Attributes as Claims” and click the Next button.
Input the following parameters:
- Claim rule name: Get Attribute Email Address
- Attribute store: Active Directory
- Mapping of LDAP attributes to outgoing claim types:
- LDAP Attribute: E-Mail-Addresses
- Outgoing Claim Type: E-Mail Addresses
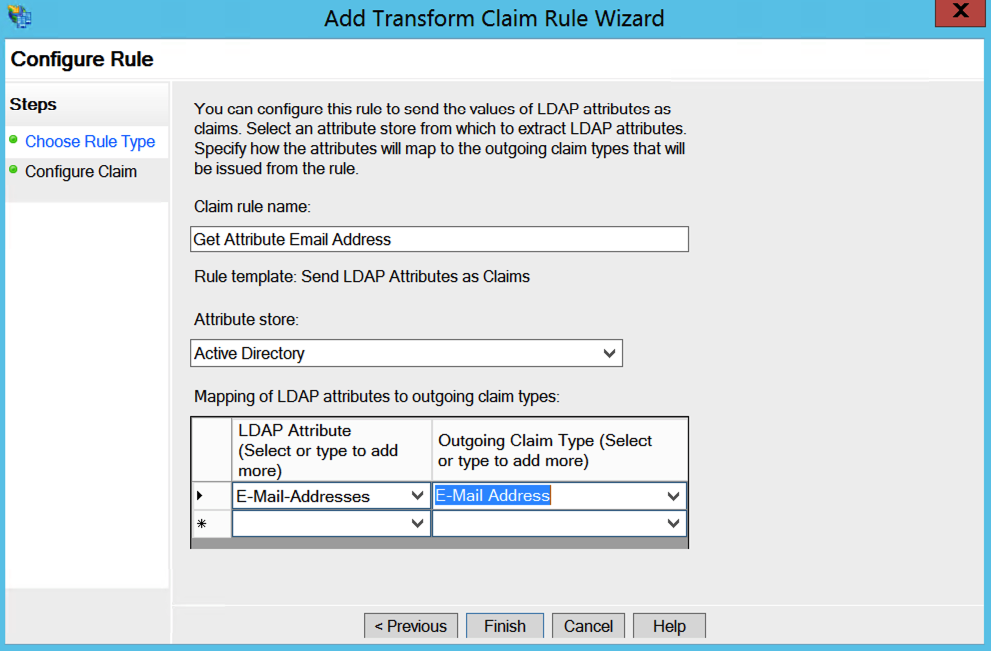
Click the Finish button. Then add the second new rule. The new rule will use “Send Claims Using a Custom Rule” as its rule template.
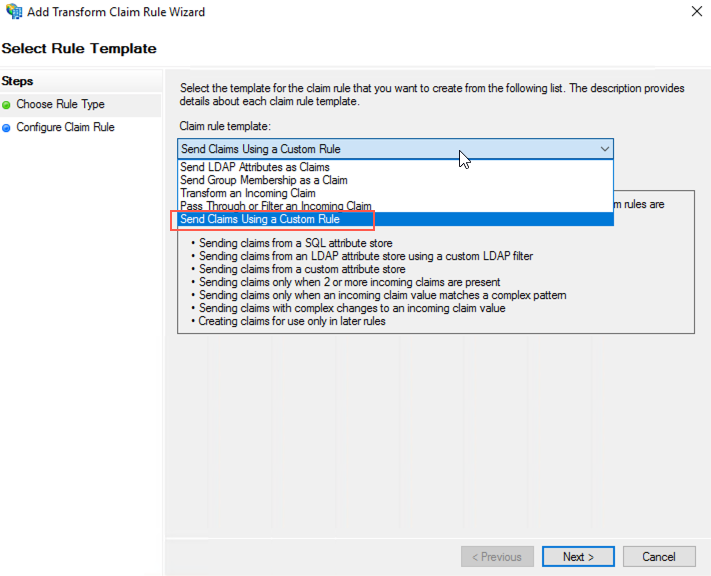
Next, input the name and custom rule:

The content of the “Custom rule” is as below. Please replace “xxxxx.vidmreview.com” with your own vIDM tenant URL.
c:[Type == "http://schemas.xmlsoap.org/ws/2005/05/identity/claims/emailaddress"]
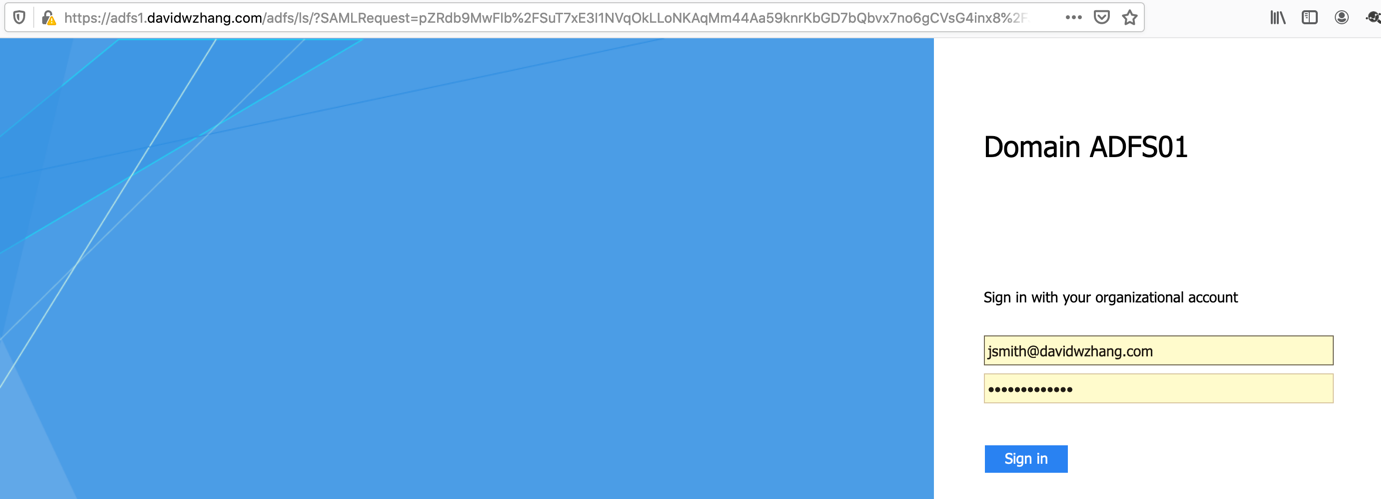
=> issue(Type = "http://schemas.xmlsoap.org/ws/2005/05/identity/claims/nameidentifier", Issuer = c.Issuer, OriginalIssuer = c.OriginalIssuer, Value = c.Value, ValueType = c.ValueType, Properties["http://schemas.xmlsoap.org/ws/2005/05/identity/claimproperties/format"] = "urn:oasis:names:tc:SAML:1.1:nameid-format:unspecified", Properties["http://schemas.xmlsoap.org/ws/2005/05/identity/claimproperties/spnamequalifier"] = "xxxxx.vidmreview.com");Now, when you try to log into the VMware Cloud service console with your AD account, your login session will be redirected to the ADFS as below, which authenticates your session.

Pingback: Setting Up Federated Identity Management for VMC on AWS – Install and Setup vIDM Connector – InsidePacket